0 0
12.7 C
New York

How to Connect a Printer to Your Computer < Tech Takes

Published:

In the contemporary era dominated by computer systems, the seamless connection of peripherals, such as printers, to your computer has become an essential aspect of harnessing the full potential of digital technology. Amid the myriad complexities of modern devices, connecting a printer might appear perplexing to those less familiar with the intricacies of computer systems. In this comprehensive guide, we will unravel the steps to connect your printer to your computer, demystifying the process and ensuring a smooth translation of your digital creations into tangible documents.

Step 1: Unboxing and Setup

Embark on the journey by unboxing your cutting-edge printer. Gently remove all protective materials, placing the printer strategically in its designated spot. Ensure ample space around the printer for optimal ventilation. Connect the power cord to the printer and an electrical outlet, powering on the device. Follow the manufacturer’s instructions meticulously to configure the basic settings, setting the foundation for a seamless connection.

Read more.. 25 Ways to Make Money Online, Offline, and at Home

Read more..  Exploring The Latest Children’s Dress Styles in 2023

Step 2: Connecting to Wi-Fi or via USB

In the realm of modern printers, two primary connection options prevail: Wi-Fi and USB. For a wireless connection, delve into the printer’s settings menu, selecting your Wi-Fi network. Input the requisite credentials, and behold! Your printer now establishes a wireless connection with your computer. Alternatively, if you prefer a direct connection, employ a USB cable to link the printer and your computer. Most printers include a USB cable in the packaging, ensuring compatibility and convenience.

Read more.. 25 Ways to Make Money Online, Offline, and at Home

Step 3: Installing Printer Drivers

The pivotal link between your computer’s operating system and the printer lies in the installation of printer drivers. While certain operating systems automatically install basic drivers, it is prudent to visit the printer manufacturer’s website for the latest drivers, ensuring optimal performance. Navigate through the installation process with the on-screen instructions, restarting your computer if prompted for a seamless integration.

Read more.. How to Make Money Online Without Affiliate Marketing

Step 4: Setting Up Default Printer

With the drivers in place, designate the connected printer as the default printing device on your computer. This crucial step guarantees that every print command seamlessly directs to the correct printer automatically. Traverse through your computer’s settings, locating the “Devices” or “Printers & Scanners” section, and designate your newly connected printer as the default, streamlining your printing experience.

Step 5: Test Print

To affirm the success of the connection, perform a test print. Open a document on your computer, navigate to ‘File,’ select ‘Print,’ and opt for your connected printer. If the printer responds promptly, producing the anticipated output, congratulations are in order – you have adeptly connected your printer to your computer.

Troubleshooting Tips:

  1. Check Connections: If your printer exhibits unresponsiveness, meticulously examine all connections. Confirm the power cord’s secure attachment and, in the case of a USB connection, ensure the cable is firmly connected to both the printer and the computer.
  2. Update Drivers: Guard against potential printing issues by regularly checking for driver updates on the manufacturer’s website. Installing the latest drivers ensures compatibility with your evolving operating system.
  3. Firewall and Antivirus Settings: Certain firewall or antivirus settings might obstruct communication between your computer and the printer. Temporarily disable these settings and attempt to print again, remembering to reinstate them afterward.
  4. Restart Devices: A simple yet effective remedy for connectivity glitches is to restart both your computer and printer. Power them down, wait briefly, and then power them back on to potentially resolve any transient issues.

Conclusion:

In the landscape dominated by computer hardware, and network servers, the ability to seamlessly connect your printer to your computer emerges as a critical skill. Unboxing, setting up, selecting your preferred connection method, installing drivers, designating defaults, and executing a test print – these steps serve as the blueprint for a streamlined and efficient printing experience. As the technological landscape continues to evolve, mastering the art of connecting peripherals empowers you to effortlessly transform your digital creations into tangible documents, ensuring you navigate the digital age with confidence and ease.

FAQ:

Q: What steps should I take if my printer is unresponsive?

A: When faced with a non-responsive printer, start by conducting a thorough examination of all connections. Ensure that power cords are securely plugged in, and double-check the stability of USB connections. Often, a simple reevaluation of these basic elements can resolve connectivity issues.

Q: How frequently should I update printer drivers?

A: Regularly updating printer drivers is crucial for maintaining compatibility with your computer system. Periodically visit the manufacturer’s website to check for the latest driver updates. Installing these updates ensures that your printer functions optimally with the latest features and remains synchronized with your operating system.

Q: How Connect a Printer to Your Computer

A: Establishing a solid connection between your printer and computer involves navigating through the intricacies of computer systems and network servers. Here’s a comprehensive guide to simplify the process:

Check Compatibility: Before attempting to connect your printer, verify that it is compatible with your computer system. Review the printer’s specifications and ensure that your operating system supports its drivers.

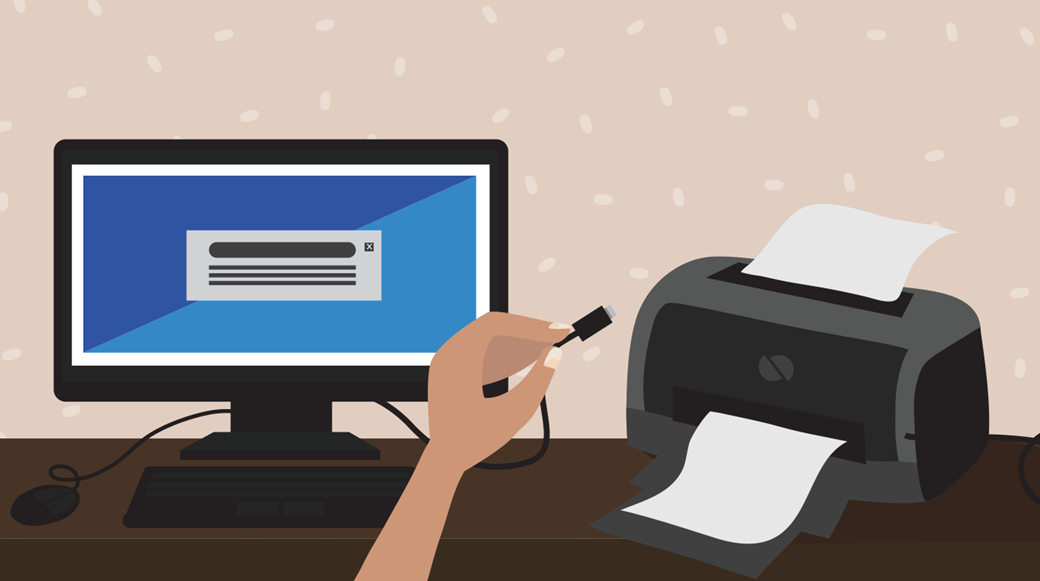
Physical Connections: Confirm that all physical connections are secure. Plug in power cords to a stable power source and ensure USB connections are snug. Faulty physical connections are a common culprit for printer malfunctions.

Install Drivers: Visit the manufacturer’s website to download the latest printer drivers compatible with your operating system. Follow the installation instructions carefully to ensure a smooth integration.

Network Configuration: If you are connecting your printer to a network server, configure the network settings on both the printer and the server. Ensure that the printer has a unique IP address and is recognized by the network.

Test Print: After completing the setup, conduct a test print to confirm that the printer is communicating effectively with your computer system. This step allows you to identify any potential issues and address them promptly.

Regular Maintenance: To prevent future connectivity issues, adopt a proactive approach by regularly updating printer drivers. Check for firmware updates and apply them as needed. Additionally, inspect physical connections periodically to ensure they remain secure.

Related articles

spot_img

Recent articles

spot_img
0 0