USB flash drives are convenient storage solutions, but they can encounter issues such as file system errors, corrupted partitions, or complete unreadability. Understanding and resolving these problems is crucial for effective data recovery and drive repair. In this comprehensive guide, we will explore common USB drive issues and walk you through a step-by-step process using the Command Prompt (CMD) for repair, ensuring the safety and integrity of your valuable data.

Read more.. How to Make Money Online Without Affiliate Marketing
Identifying Common USB Drive Issues:
Before diving into the CMD-based repair process, it’s essential to recognize the common issues that can afflict USB flash drives. These issues often manifest as file system errors, corrupted partitions, or an entirely unreadable USB drive. These problems can jeopardize the integrity of your data, making it imperative to address them promptly.

Read more.. 25 Ways to Make Money Online, Offline, and at Home
Step 1: Accessing CMD with Administrative Privileges:
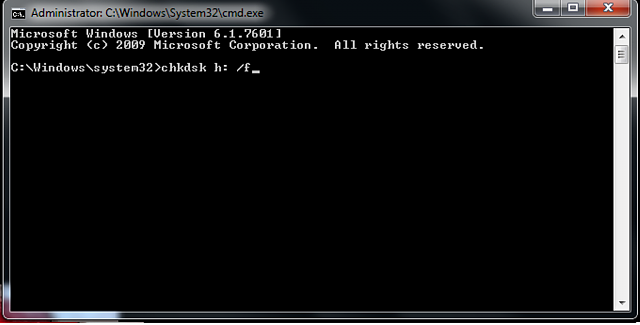
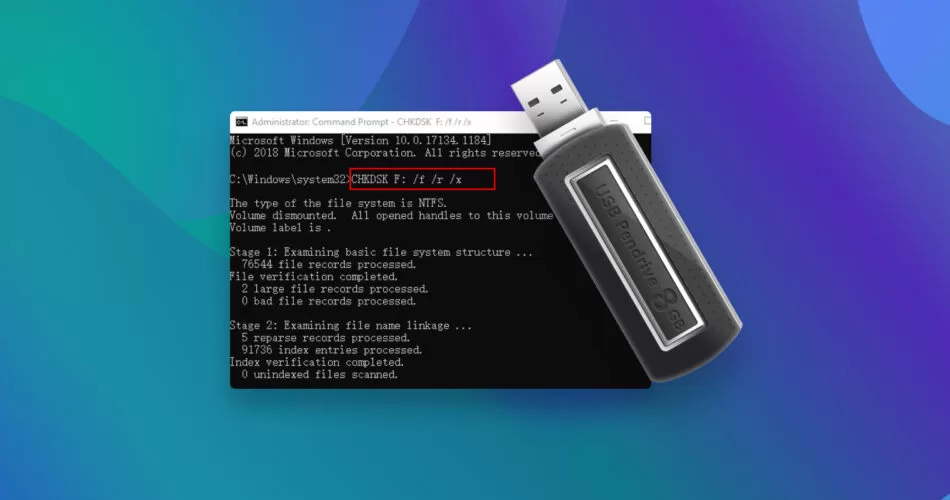
To initiate the data recovery process and repair a pen drive, commence by accessing the Command Prompt with administrative privileges. For those employing more recent Windows versions, right-click on the Start button and opt for “Command Prompt (Admin)” or “Windows PowerShell (Admin).” This essential step ensures the requisite permissions to execute commands for repairing the USB drive. This method is vital for individuals seeking guidance on data recovery and how to repair a pen drive, as it sets the foundation for successful troubleshooting. By following these instructions, users can navigate through the repair process and potentially salvage valuable data from their USB flash drives.
Step 2: Identifying the USB Drive:
Once CMD is open, the next step is to identify the drive letter assigned to your USB flash drive. Enter the command “diskpart” and press Enter. Subsequently, input “list disk” to view all connected disks. Identify your USB drive based on its size and make a note of the corresponding disk number.
Step 3: Selecting the USB Drive:
To work on the USB drive, type “select disk X” (replace X with the disk number assigned to your USB drive) and press Enter. This ensures that subsequent commands are applied to the correct drive.
Step 4: Cleaning the USB Drive:
The next critical step involves cleaning the USB drive by removing all existing partitions. Enter the command “clean” and press Enter. This action erases the partition table, preparing the drive for a fresh start.
Step 5: Creating a New Partition:
After cleaning the drive, create a new partition by typing “create partition primary” and pressing Enter. This command establishes a primary partition on the USB drive, paving the way for data recovery.
Step 6: Formatting the USB Drive:
To ensure compatibility and eliminate errors, format the newly created partition using the command “format fs=fat32” and press Enter. If your drive requires a different file system, replace “fat32” with “ntfs.” Formatting is a crucial step in the repair process to ensure a clean and error-free file structure.
Step 7: Assigning a Drive Letter:
Assign a drive letter to the USB drive using the command “assign letter=X” (replace X with the desired drive letter) and press Enter. This step ensures that the drive is easily accessible with the assigned letter.
Step 8: Exiting Diskpart:
To complete the repair process, exit the Diskpart utility by typing “exit” and pressing Enter. This ensures that all changes made to the USB drive are finalized.
Conclusion:
Mastering the intricacies of data recovery and learning the CMD-based repair process is crucial for resolving typical USB drive issues. Effectively repairing your pen drive requires following step-by-step instructions provided in this comprehensive guide. This knowledge empowers you to address and rectify issues, whether they stem from file system errors or corrupted partitions. The guide ensures that your USB drive is swiftly restored to optimal working condition, safeguarding your valuable data. In the realm of data recovery and pen drive repair, these insights serve as a valuable resource, offering a systematic approach to tackling various issues with precision and efficiency.
Q1: Will using CMD to repair a USB drive erase my data?
A1: Utilizing CMD for USB drive repair may involve formatting, potentially leading to data loss. To safeguard your data, it is highly recommended to back up your files before proceeding with these steps.
Q2: What if CMD doesn’t fix my USB drive?
A2: If CMD fails to resolve the issue, there could be physical damage to the USB drive. In such cases, consider seeking professional data recovery services to retrieve your important files.
Q3: Can I use this method on a Mac?
A3: No, the CMD repair guide is specific to Windows. Mac users can employ the Disk Utility tool, which serves a similar purpose for repairing and formatting drives.
Q4: Why is my USB drive not recognized by CMD?
A4: Ensure you have administrative privileges and that the USB drive is correctly connected. If the issue persists, try using a different USB port or cable to rule out potential connectivity problems.
Q5: Is there any third-party software for USB drive repair?
A5: Yes, several third-party tools are available for USB drive recovery. Software like Recuva, EaseUS Partition Master, and MiniTool Partition Wizard can aid in repairing and recovering data from USB drives, providing alternative solutions beyond CMD.
